Grilling with charcoal produced amazingly delicious results and once you’ll know how to light the coals, it will be super easy too. Lighting coal is very easy and takes about 15 minutes. The extra 15 minutes are truly worth the smokey barbecue taste in your dinner.
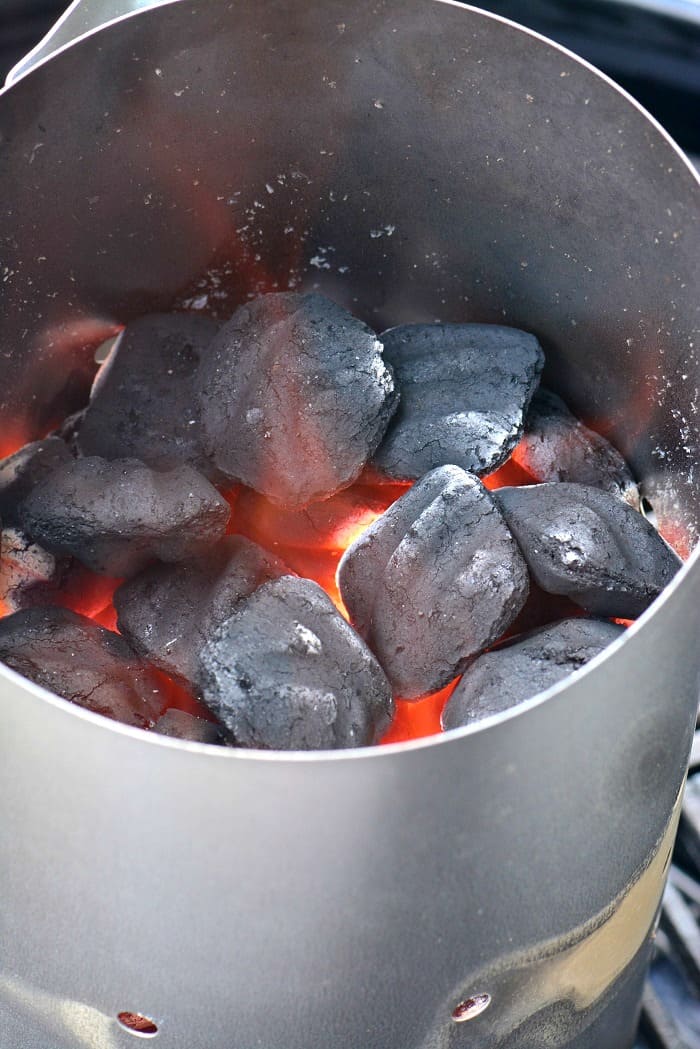
Okay, so I mentioned that lighting coal is very easy, and it truly is, but it’s not as easy as pushing a button on your gas grill. At the same time, you will never get the same taste results with gas grills.
It will take about 15 minutes to light coals and a few more minutes for the grill to heat up. The two most common coal starters are electric and chimney. Personally, I prefer chimney because it lights the coals fast and heats them up evenly.
TYPES OF COAL STARTERS
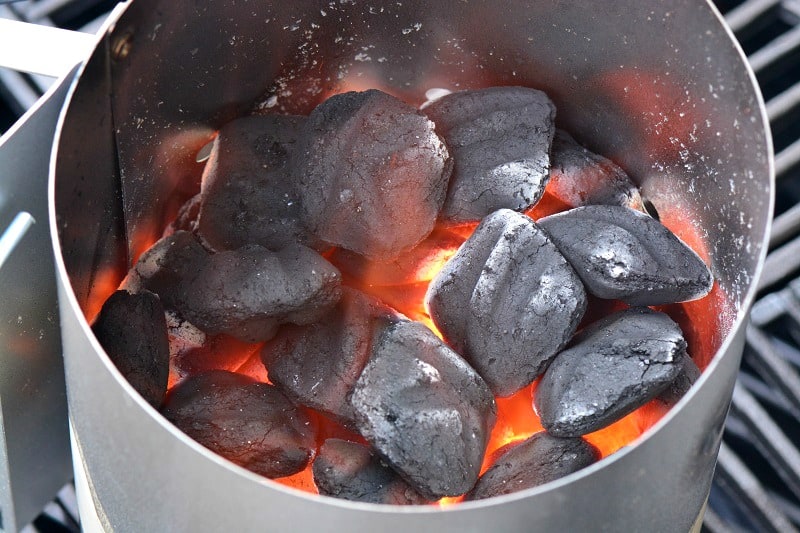
The chimney starter is made out of two parts, the bottom chamber where you put newspaper or fire starters and the top chamber for the coals. Once you light the newspaper on the bottom, it works by sucking up air and oxygen from the bottom, up to the coals. As the hot air rises, it ignites the coals. Coals will be glowing and ready within about 15 minutes.
An electric coal started it a coil that you put in right with the coals. So arrange the coals in a pile right in the grill, where they meant to go in your grill, and then, place the electric starter into the pile. Once the coals are ignited, remove the starter. Down side about the electric starter is that it needs to be plugged in and it only lights the coals that it touches. So you will need to mix the lit coals with the coal that have not been lit. This method of lighting takes a little more effort.
There is also a nifty little started called “Looftlighter.” With this gadget, you simply touch the coals that are arranged at the bottom of the grill and when the sparks start to fly, you pull away slightly and hold it there to let the hot air circulate and ignite the coals. I have not tried this gadget, so I can’t give any pros and cons to this lighting method.
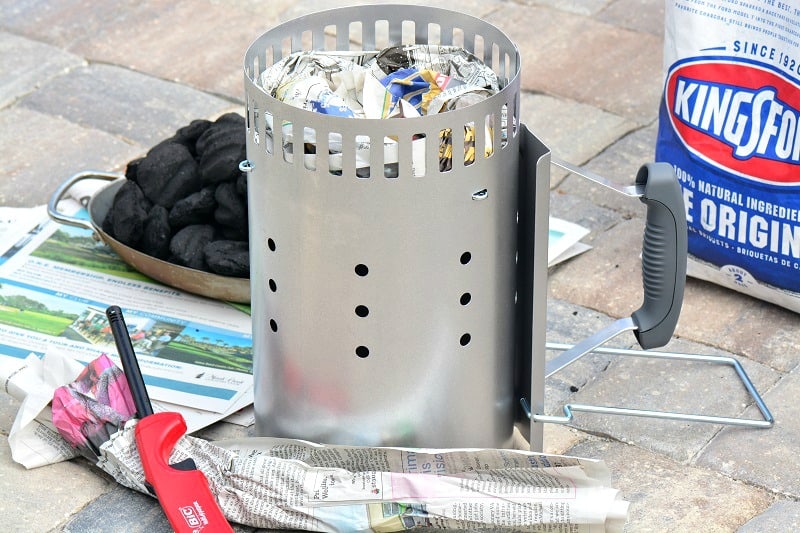
HOW TO LIGHT COALS WITH A CHIMNEY STARTER
What you need is: the chimney starter, coals, 4-6 pages of newspaper, and a long lighter.
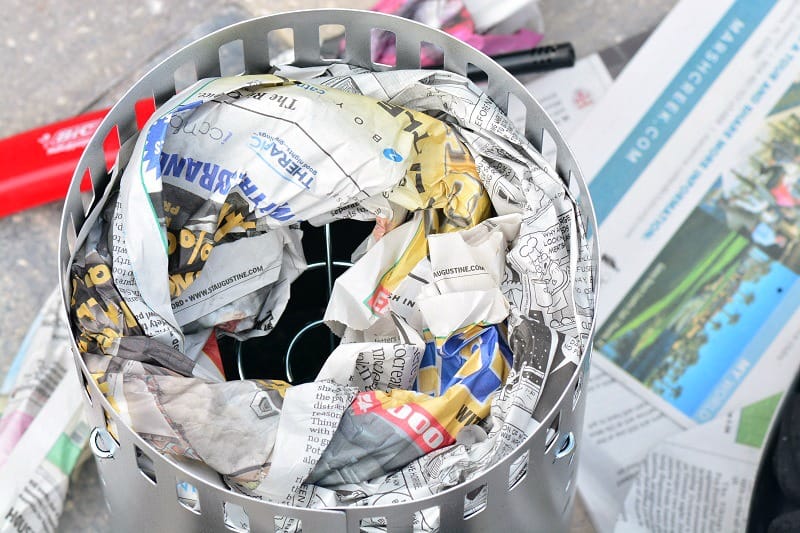
Step 1: open the newspaper pages, roll them up, and crumble a little as you roll. Don’t roll it too tight.
Step 2: turn the starter upside down and fit the rolled newspaper in a circle along the inner edge of the bottom chamber. Turn it back over.
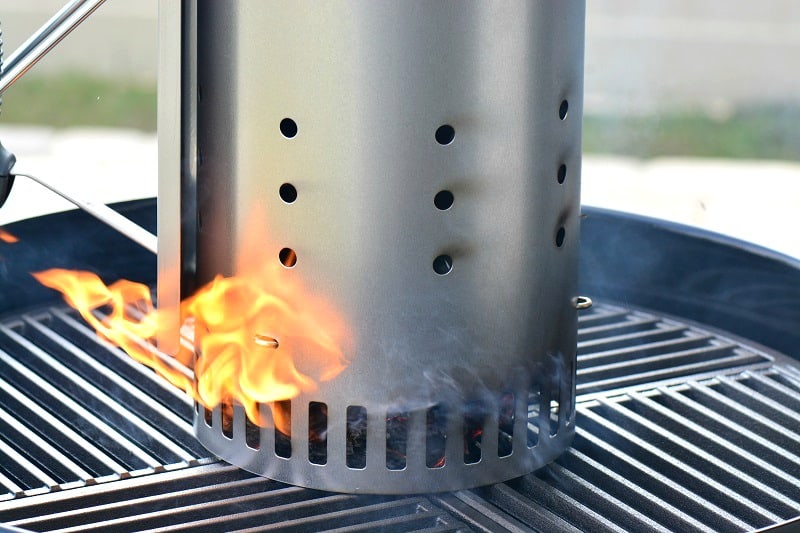
Step 3: Place the chimney starter on the grill. You can take off the grill grate or lift half of it, where the coals will go. It all depends on the type of grill you have.
Step 4: add coals to the top chamber of the chimney.
Step 5: light the newspaper underneath with the long lighter. Let it do its work.
Step 6: when you see the coals start to ash and flames over the top of coals, they’re ready to pour out. Use heat resistant gloves to handle the chimney and the grill grate. Both will be hot!
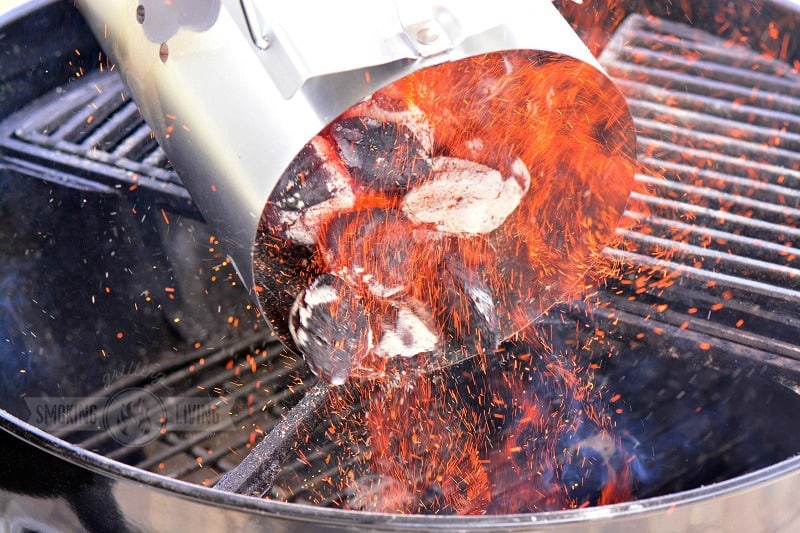
Step 7: pour the coals into the grill’s coal chamber in a pile. Let the coals get a little more ashed over and spread them out either in one even layer or create two-temperature zone by spreading them only on one half of the grill.
CONTROLLING THE TEMPERATURE
The way cooking on charcoal grill works is air gets drawn in from the bottom (or side) vents in the grill. The oxygen drawn from the bottom, fuels lit coals. Coals give out the heat and heats the grilling surface above. Air circulates and gets hot inside the grill with a lid closed and cooks the food all around as well as where it’s touching the grilling surface. Excess hot air exits through the chimney or vent at the top of the lid.
It’s important to remember that the more oxygen the coals get, the hotter they will burn. So opening the vents at the bottom (sides) and the top, will let in more air and therefore, make the coals burn hotter and faster. To keep lower temperature, close the vents more to only let a little bit of air in. Controlling the temperature of the grill can be tricky but with more experience and practice, it will become easier.
Make sure to experiment by closing and opening one vent at a time, until you get a good handle on your grill.
Besides opening and closing the air vents, you can control the temperature by building a two-zone fire. It’s really the best practice to have two temperature zones on the grill, one with high temperature and the other one is lower.
Building two zone fire on the grill really means keeping the coals on one half of the grill. This way, there is a searing, hot side right over the coals for direct cooking and a lower temperature side without coals under it for indirect cooking. Use the hot side for searing food and getting grill marks over it and the lower temperature side to cook the food through after searing.
CLEAN THE GRILL AND SHUT IT DOWN
After all the delicious grilled food is ready, don’t forget that your work with the grill is not quite over. Give it a scrub with the grill brush right after you pull the food off to get any remaining food off the grate.
You have a couple of options when it comes to remaining coals. If the coals still have a good amount of burning time left, you can suffocate the fire and use the remains with the next grilling. Just add new hot coals to the ones remained. To shut off the grill, close all the vents and close the lid. With a good grill, complete lack of oxygen will stop the coals from burning.
If coals don’t have much burn time left, close the vents and the lid on the grill. Let the grill and the coals cool completely before disposing of the ash and leftover coal pieces.
Note that coals can stay hot for up to 24 hours, so don’t try to dispose of them too soon and make sure it’s completely extinguished. Finish cleaning the grill and taking out ash about 48 hours after grilling. Make sure to properly dispose of the ash by wrapping it in aluminum foil first and then place it in a noncombustible outdoor trash bin.

Great article…good information!!